How to Replicate Kevin Shields’ Glide Guitar Shoegaze Sound – A Step-by-Step Guide
Master Kevin Shields glide guitar technique. Step-by-step tutorial reveals pedal settings, gear tips, and pro techniques to craft your shoegaze tone.

Ever wondered how Kevin Shields conjures those swirling, otherworldly guitar textures that define My Bloody Valentine’s shoegaze sound? Turns out, there’s more to it than just a pile of pedals. For guitarists chasing the iconic glide guitar technique, it’s all about how Shields works the tremolo arm, tweaks the bridge, and stacks reverse reverb effects in just the right way. Most guides skip straight to fuzz pedals and skip over the technique and setup that actually matter. Here’s a detailed walkthrough—covering the gear, settings, and physical moves—that unlocks Shields’ legendary wall of sound for your own pedalboard in any situation. If getting lost in waves of dreamy feedback-laden chords is the goal, mastering the glide technique is step one.
What You'll Learn:
- Learn the essentials of Kevin Shields’ glide guitar technique and why it’s unique
- Find out exactly which guitars, tremolo systems, and pedals to use
- Get a step-by-step breakdown of tremolo setup, physical technique, and reverse reverb settings
- Solve common problems like tuning instability and reverb washout
- Discover modern pedalboard solutions for nailing authentic shoegaze tones
- Experiment with layering, mix tips, and safety advice for your setup
What You Need to Replicate Kevin Shields’ Glide Guitar Technique
Before dialing in that signature shoegaze sound, the right gear and setup is non-negotiable. Shields’ glide guitar tone starts with both his hands and the oddball gear under them. Fender Jazzmasters and Jaguars aren’t just for aesthetics—the floating tremolo and bridge tilt offer a uniquely expressive foundation. Shields even loosens the vibrato bar—sometimes using tape for extra wiggle. This move allows continuous, subtle detuning with every strum.
Choosing the Right Guitar and Tremolo System
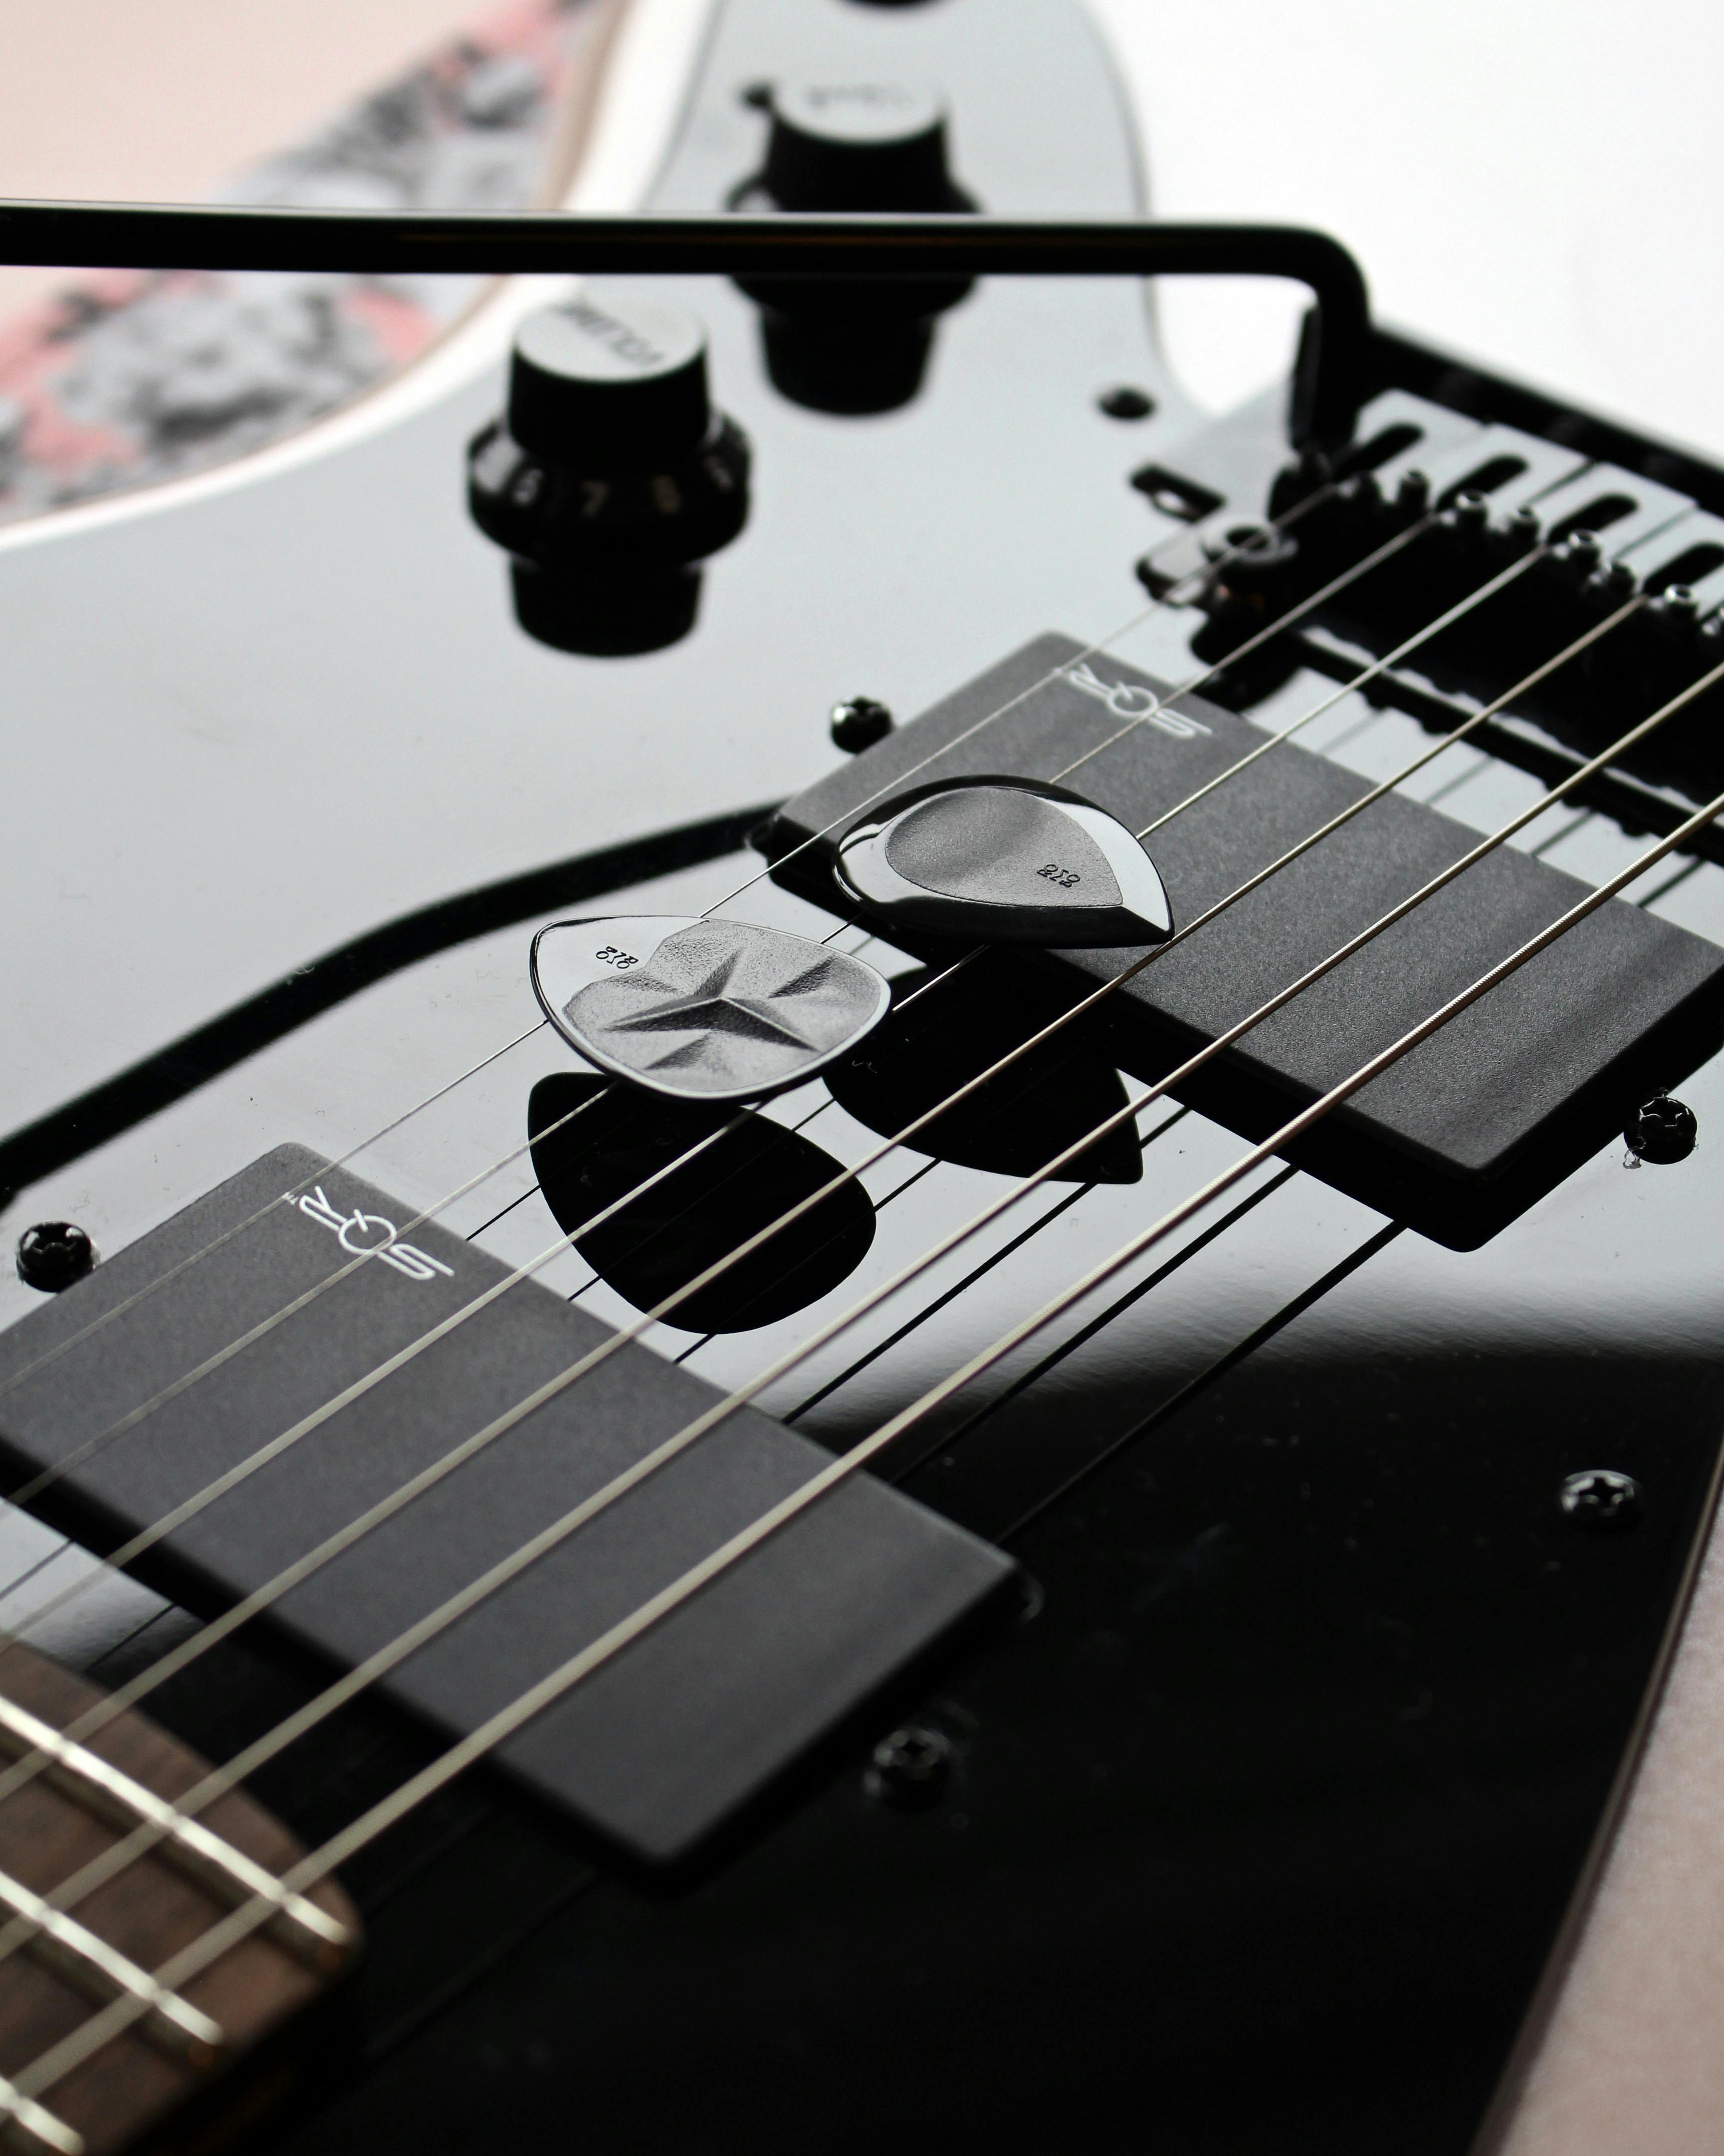
Most players chasing the glide stick to Fender offsets, usually Jazzmasters or Jaguars. The floating bridge allows for a wider range of tremolo movement—or “throw”—perfect for continuous pitch wavering. Why not a Strat? The trick is the looseness: Jazzmasters let you adjust the vibrato arm to move effortlessly, sometimes taping it for better grip and stability—just like Shields. Tilt the bridge slightly so the action’s smooth and the arm drops just enough. Locking the vibrato for downward motion (see Jazzmaster tremolo lock) also helps keep tuning stable during aggressive play.
Pedalboard Essentials: Reverse Reverb and More
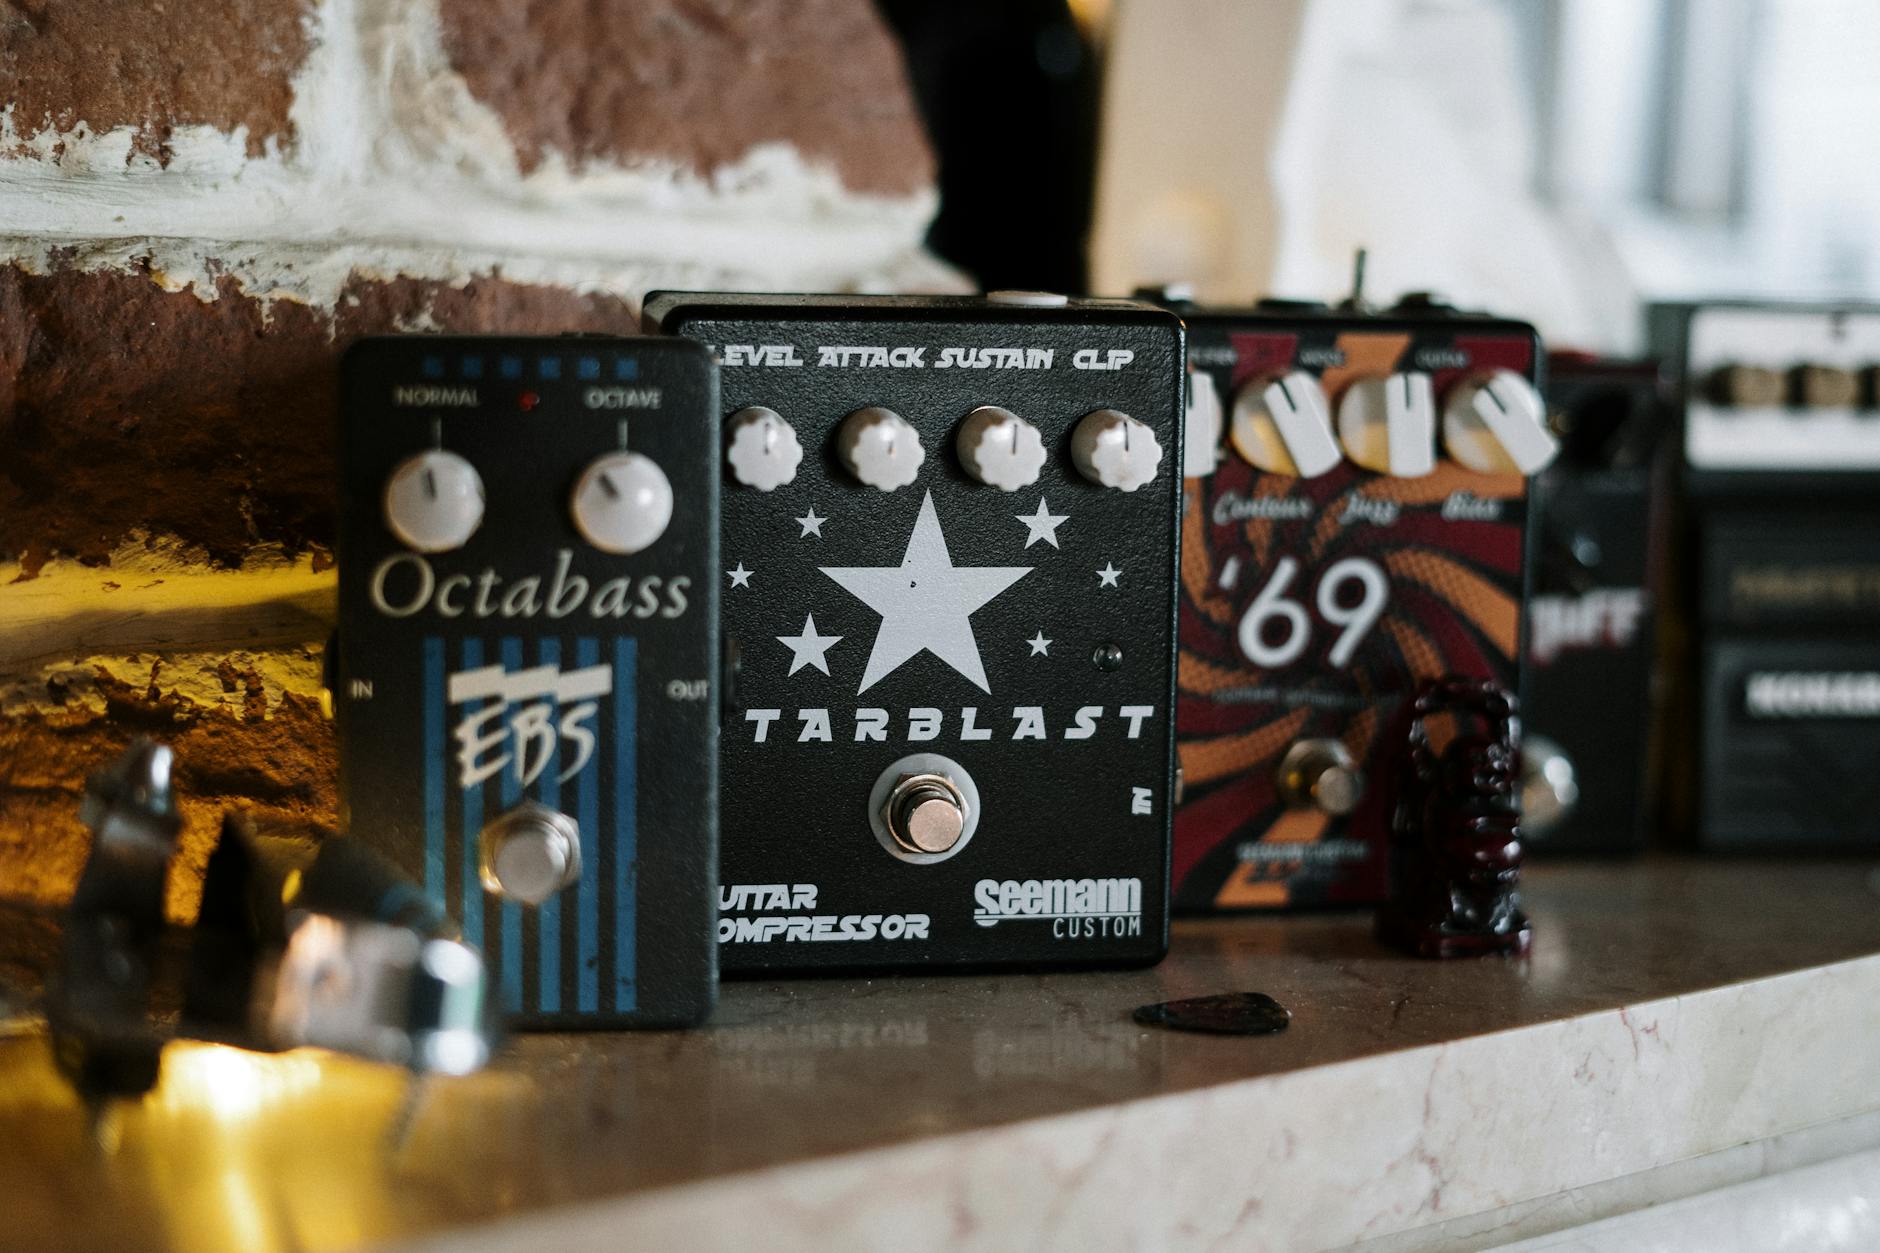
True glide sound comes from running the guitar through a reverse reverb, typically a Yamaha SPX90 or Alesis Midiverb II. These rack units reverse the reverb “tails,” helping notes melt and blur. Fuzz—often a Roger Mayer Active, Octave, or something similarly saturated—adds drive. A graphic EQ (six-band at minimum) does the cleanup and tone shaping. On the amp side, Shields usually puts the signal through multiple amps (Vox, Marshall, Hiwatt) for a complex voice, but any clean, headroom-heavy tube amp works. For those without rare vintage racks, plenty of modern pedals mimic these effects.
Setting up a good workspace matters too. You’ll want:
- Sturdy stand or bench for balancing guitar and adjusting tremolo
- Accessible pedals with enough power and cabling for experimentation
- Quiet amp or headphone setup for tone shaping at home without distraction
All these pieces add up and make exploration rewarding—even if the initial setup gets a bit quirky. According to Wikipedia's definition of glide guitar, this tech relies not just on effects but a specific combination of tremolo manipulation and gear choice worth nailing early.
Step-by-Step: Mastering the Kevin Shields Glide Guitar Technique
This is where the magic happens. Most tutorials talk pedals; Shields flips the script by making his hands—especially on the tremolo arm—the center of the effect. This walkthrough covers the full process, from mechanical setup to the way you actually hold and play the guitar.
Step 1: Setting Up the Tremolo Arm
Start by loosening the vibrato arm so it almost swings freely. Shields sometimes wraps tape around the arm or tip for a smoother feel and extra grip. Key move: make sure the arm can float low to the strings for seamless movement. If your guitar has a tremolo lock (like a Jazzmaster), use it to set up for downward-only motion. Slightly tilt the bridge for greater throw, but check for string buzz or excessive play—balance is everything. Shield’s own setup (as detailed in Guitar World’s Jazzmaster feature) pushes the bridge for a wider glide without sacrificing playability or tuning.
Step 2: Strumming and Tremolo Manipulation
Hold the vibrato arm gently but always in hand—not just for dive bombs, but every strum. While strumming broad barre chords or extended voicings, gently rock the tremolo arm to create subtle, continuous pitch bends. It’s not wild whammy antics; think seasick undulation. Use mostly downstrokes at mid-tempo (Shields stays between 90-110 bpm on classics), with strumming patterns straight from classic rhythm but offset by that glide. Practice by locking your picking hand around the vibrato, using your pinky or ring finger to keep the motion fluid. Try this now:
- Mute all strings lightly at the 12th fret
- Strum continuously while gently moving the tremolo arm up and down
- Work up to playing open chords with bend and shimmer
Step 3: Pedal Chain and Reverse Reverb Settings
The correct effect chain is non-negotiable for nailing this timbre. Shields typically places reverse reverb (SPX90 or Midiverb II) directly after fuzz/distortion. Start with fuzz at 60-70% gain—too high, and it’ll wash out. Next, run into a reverse reverb unit or pedal; set the mix at 60% wet to 40% dry to avoid total signal smearing. EQ goes last, emphasizing mids (boost around 1kHz, mild cut at 120Hz), helping prevent muddiness. For alternate tunings—E‑B‑E‑E‑B‑E or F#‑C#‑F#‑B‑B‑G#—capo on the second or third fret adds harmonic chaos. Shields often layers further using different fuzzes or Whammy pedals for octave movement.
- Signal order: Guitar → Fuzz → Reverse Reverb → EQ → Amp
- Reverse reverb mix: 60–70%
- Fuzz gain: 60–70%
- EQ: mild mid boost, low cut at 120Hz
Amplification is next. Try recording through a clean amp (Vox AC30, Fender Twin Reverb, or similar) as a first layer. Shield’s trick is recording multiple slightly detuned takes, sometimes through different amps and mic setups, then blending them in mono for ultimate density. For a direct-to-computer rig, double record and pan tracks only slightly.
Step 4: Layering and Mixing for the Wall of Sound
This is shoegaze’s secret weapon. Shields records several guitar parts, all using the same glide technique but with different fuzz pedals, amp settings, or slight detuning. The goal: thick mono mixes, not wide stereo. Try this layering approach:
- Track at least three rhythm parts, each with slight variations in tremolo movement and chord voicings
- Use two different amps (or amp sims) and alternate mic positions
- Sum all tracks to mono during mixing—this glues the sound together
Listen to examples of glide guitar on Wikipedia and notice the dense, unified sound. It’s all layers, all movement. Experiment and listen for the magic sweet spot between chaos and cohesion.
Troubleshooting Common Issues with Glide Guitar Shoegaze Sound
The glide guitar technique sounds magical but it’s not without its headaches. Tuning flies out the window with heavy tremolo use, and piling on reverb can turn everything to sonic mud. Here’s how to avoid the most common pitfalls.
Solving Tuning and Tremolo Stability Problems
Floating bridges are sensitive. If your guitar slips out of tune mid-song, try these steps:
- Use heavier strings (.11s or .12s) for greater tension and stability
- Apply nut lubricant and stretch new strings thoroughly before playing
- Tilt the bridge just enough for extra throw, but not to the point of instability
- Regularly check tremolo screws and springs for wear
If all else fails, invest in a higher quality aftermarket bridge or put a small piece of foam under the bridge to dampen movement (works in a pinch for recording).
Managing Reverb and Fuzz for Clarity
Too much of a good thing can make every chord sound like it’s underwater. To keep the magic without the mess:
- Cut frequencies below 100–120Hz to avoid rumble and muddiness
- Dial fuzz gain back until notes just start to bloom (not roar)
- Position EQ last in the chain to carve out space for each frequency
- If washout persists, try a different reverb algorithm or reduce the wet mix
Don’t have a vintage Jazzmaster or Jaguar? Any guitar with a floating trem/vibrato (some Strats, Mustangs, Bigsby setups) can approximate the effect—just be patient dialing in the feel. GearNews’ gear guide covers alternatives and more setup hacks for all sorts of rigs.
Modern Pedalboard Solutions for Glide Guitar Technique
Vintage racks may be legendary but realistic shoegaze setups exist for today’s pedalboards too. Plenty of modern pedals nail the reverse reverb and fuzz textures needed for Kevin Shields’ glide guitar technique.
Reverse Reverb Pedals: Top Picks
- Electro-Harmonix Holy Grail Neo (with reverse setting)
- BOSS RV-6 (reverse mode)
- EarthQuaker Devices Afterneath (ambient and reverse options)
- Strymon BigSky (deep customization for reverb tails)
Set the mix high and watch for a strong initial swell. Many of these can get close to the rack-unit magic even live. Use them right after fuzz, just like the original signal chain.
Sample Modern Pedalboard Layout
A practical modern glide setup goes: Guitar → Fuzz → Reverse Reverb → EQ → Modulation → Amp Sim or Amp. Modulation (chorus, flanger) sits after reverb for extra width in a stereo rig, but keep it off for mono density. Digital pedalboard users (HX Stomp, Helix) can recreate complex chains with block order and even add automation for hands-free glide. The key is keeping the signal clean between gain and reverb, then stacking layers as needed in the mix.
Conclusion
Replicating Kevin Shields’ glide guitar tone isn’t just about buying the right pedals or strumming harder—it’s a method built on subtle tremolo movement, the right guitar setup, and creative effect stacking. The focus should always be on physical manipulation first, then dialing in reverse reverb and fuzz/EQ to taste. Even without vintage rack gear, players can capture the magic by finessing their tremolo arm, experimenting with alternate tunings, and layering tracks in creative ways. The best part? There’s endless room for experimentation, pushing every rig toward that ethereal, swirling wall of sound that made shoegaze famous. So plug in, loosen up your tremolo, and take the leap into new sonic territory—just like Shields did.
Frequently Asked Questions
What is glide guitar technique?
Glide guitar technique involves holding the vibrato (tremolo) arm of a floating-bridge guitar, like a Fender Jazzmaster, while strumming chords. By gently moving the arm during playing, the pitch continuously wavers, creating shimmering and swirling effects, especially when paired with reverse reverb and fuzz pedals. This method, popularized by Kevin Shields, produces the signature shoegaze soundscape found in My Bloody Valentine’s music.
How do you set up your guitar for the Kevin Shields glide guitar technique?
Set up your guitar by using a Fender Jazzmaster or Jaguar with a floating tremolo. Loosen the vibrato arm—sometimes secure it with tape for extra smoothness—and tilt the bridge for increased throw. Heavier gauge strings (.11 or .12) help maintain tuning stability. Always keep the tremolo arm in hand while you play to create consistent pitch bends.
What pedals did Kevin Shields use for his glide guitar sound?
Kevin Shields’ pedalboard features multiple fuzz pedals (Roger Mayer Active Fuzz, Octave/Fuzz), reverse reverb racks (Yamaha SPX90, Alesis Midiverb II), graphic EQ for shaping tone, and Whammy effects for pitch shifts. In today’s setups, reverse reverb pedals with high wet mix settings—plus EQ placed at the end—can closely mimic his textural sound.
How do you avoid tuning issues when using the glide technique?
Switch to heavier strings, apply nut lubricant, and stretch new strings well. Make sure the bridge and tremolo system are set up carefully—tilted for extra movement but not so much that stability suffers. Aftermarket bridges or foam dampeners can help lock down tuning during heavy tremolo use.
Key Takeaways
- Physical tremolo arm technique defines the true glide guitar sound—gear matters, but hands come first.
- Placing fuzz, reverse reverb, and EQ in the proper order creates that signature shoegaze texture.
- Modern pedals make Kevin Shields’ sound accessible—no need for rare vintage rack gear.
- Careful setup prevents tuning issues and muddy mixes, letting the unique glide character shine.
Related Topics
Explore more articles in these topics to deepen your knowledge.
Related Articles

The Quantum Guitar Effect That Transforms Ambient Playing
Learn quantum guitar ambient technique to create immersive, physics-bending textures in ambient playing. Elevate your sound—discover new creative methods now!

Small‑Venue Guitar Live Sound Setup and Troubleshooting Guide for 2025
Master small venue guitar live sound setup with step-by-step troubleshooting. Boost tone, fix gig issues, and play confidently—get pro tips now!

Mastering Tornado of Souls by Megadeth (2025 Intermediate‑Advanced Metal Tutorial)
Master Tornado of Souls guitar tutorial with step-by-step tabs, pro techniques, and play-along videos. Learn every solo detail—start playing today!
Discover more insights from our blog to enhance your musical journey.
